Device Initialization
At initialization phase the x2TimerML device expects two mandatory parameters, Fig. 2:
- X2 Timer: The name of the x2Timer karabo device connected to a specific μTCA crate;
- Channel Name: The trigger in the μTCA crate, which we want to use. The trigger can be selected from the available triggers using a predifined drop-down list, Fig. 3.
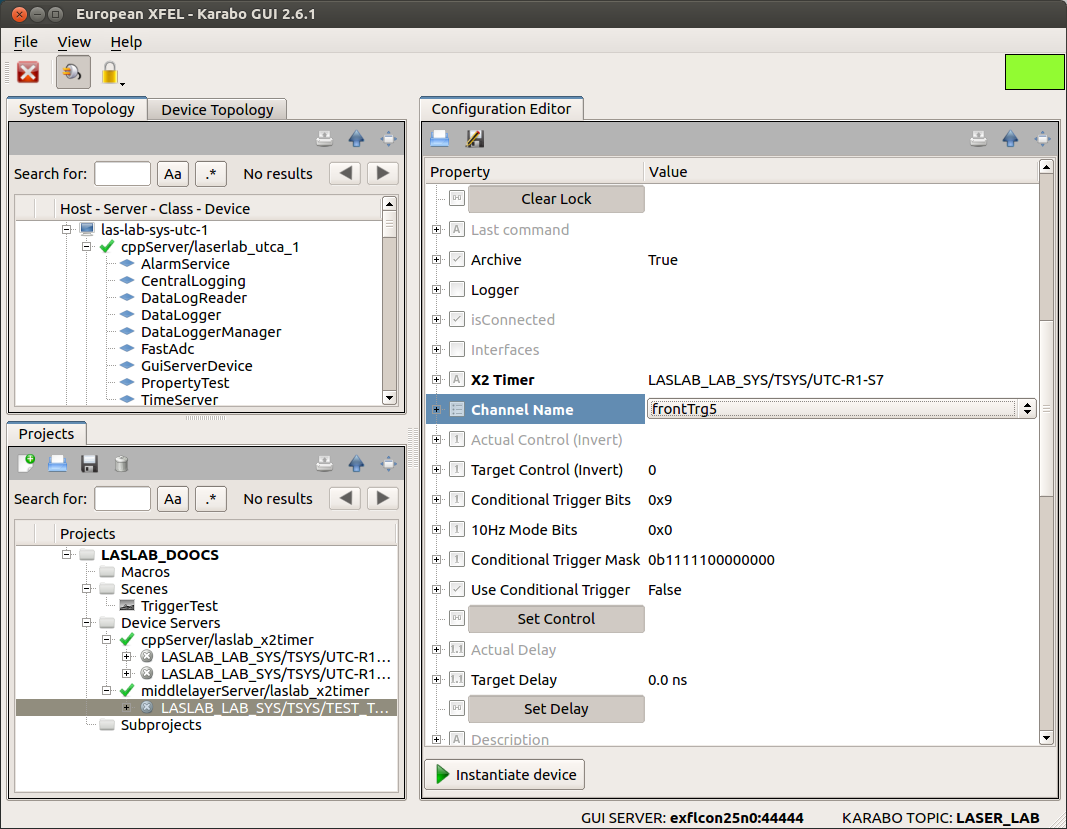
Fig. 2 Before initialization mandatory parameters (in bold font in the device configuration editor) must be set, otherwise the device will not be started.
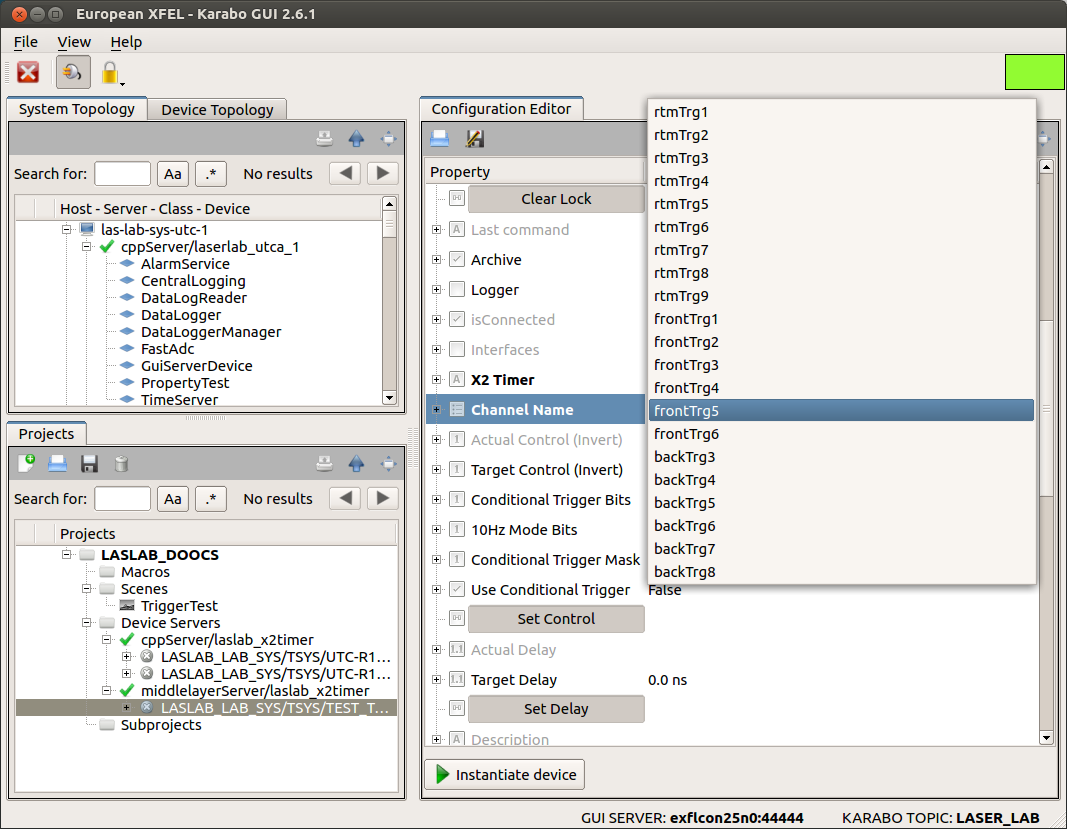
Fig. 3 The trigger can be chosen using an available drop-down list.
Failing to properly provide a valid instance for a correct x2Timer device name will result in the device remaining in the INIT state, Fig. 4:
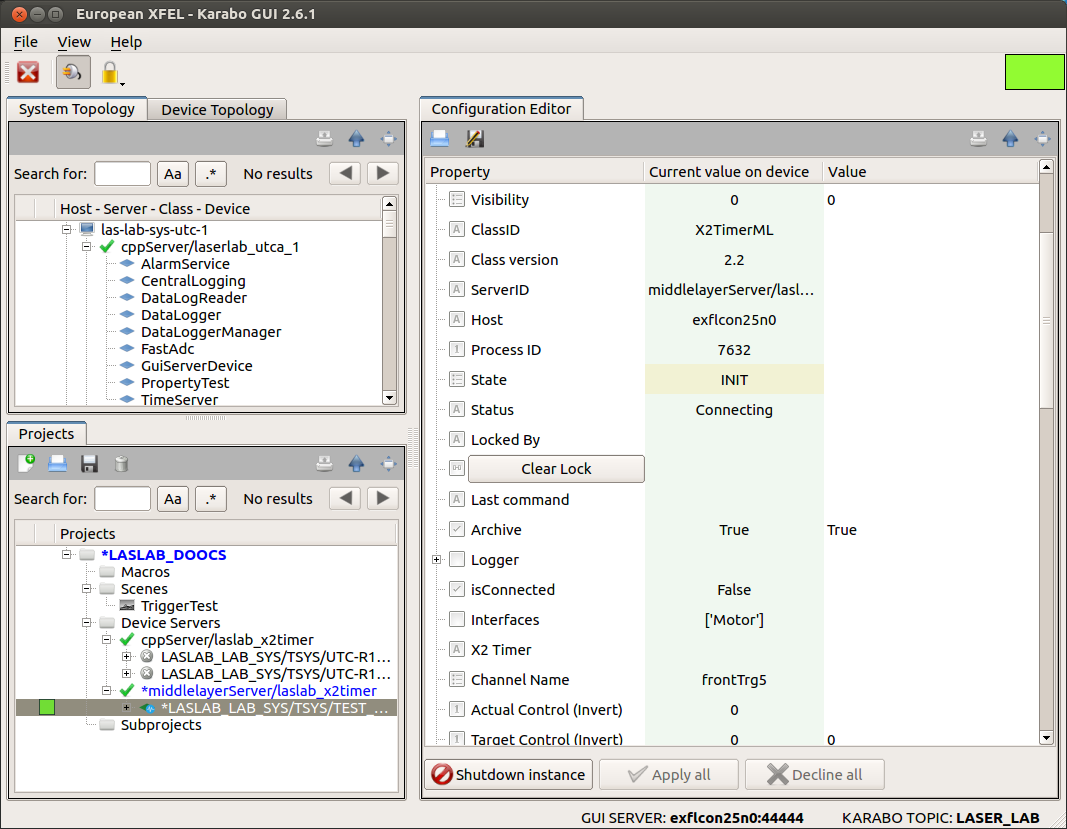
Fig. 4 The device remains in INIT state when trying to connect to an x2Timer which is not online.
In case the connection with the x2Timer could be established the middlelayer device should reach the state ON, Fig. 5:

Fig. 5 If the initialization phase was successful, the device should eventually reach the state ON.
When the device is online the parameters “X2 Timer” and “Channel Name” cannot be changed; this is only possible by first shutting the device down. The device, when online, can be controlled also by its auto-generate scene, which can be opened by double-clicking on the device name in both the “System Topology” and “Projects” panel in the karabo gui client, Fig. 6:
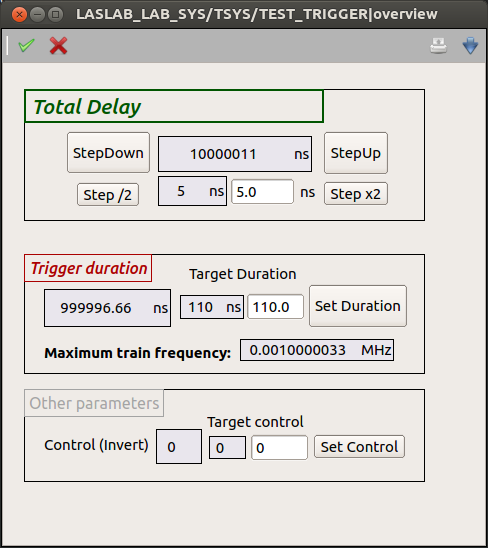
Fig. 6 An auto-generated scene allows the user to configure the device.